
5 · Build the ROM in Daz Studio#
Nothing here is done by hand: the DTH Export button in the character header runs the whole round trip unattended — that is the default way to build a ROM. The generated scripts it drives can also be run yourself, one scene at a time — that workflow is the fold-out at the end of this page: Working with the scripts alone.
Run it — DTH Export#
Press DTH Export in the character header, keep the pre-ticked Daz scenes and the ROM + Export mode, and press Start. The panel itself — its modes, the Houdini and Unreal legs, watching and interrupting a run — has its own page: The DTH Export batch. What matters here is what that run builds: the entire ROM on the timeline — every section you enabled, every morph on its exact frame — with the export straight after. On the way each scene is also scanned into the studio's morph index, so the Parameter-name autocomplete stays current through normal use.
Note
If a morph couldn't be applied, the run's report says so and the studio lists the exact failures on the character page. The ROM's frame count is never affected: a missing morph leaves its frames empty instead of shifting everything after it.
What a run exports#
The export is driven by the DTH Exporter Plugin (v1.8.1+, installed in step 2).
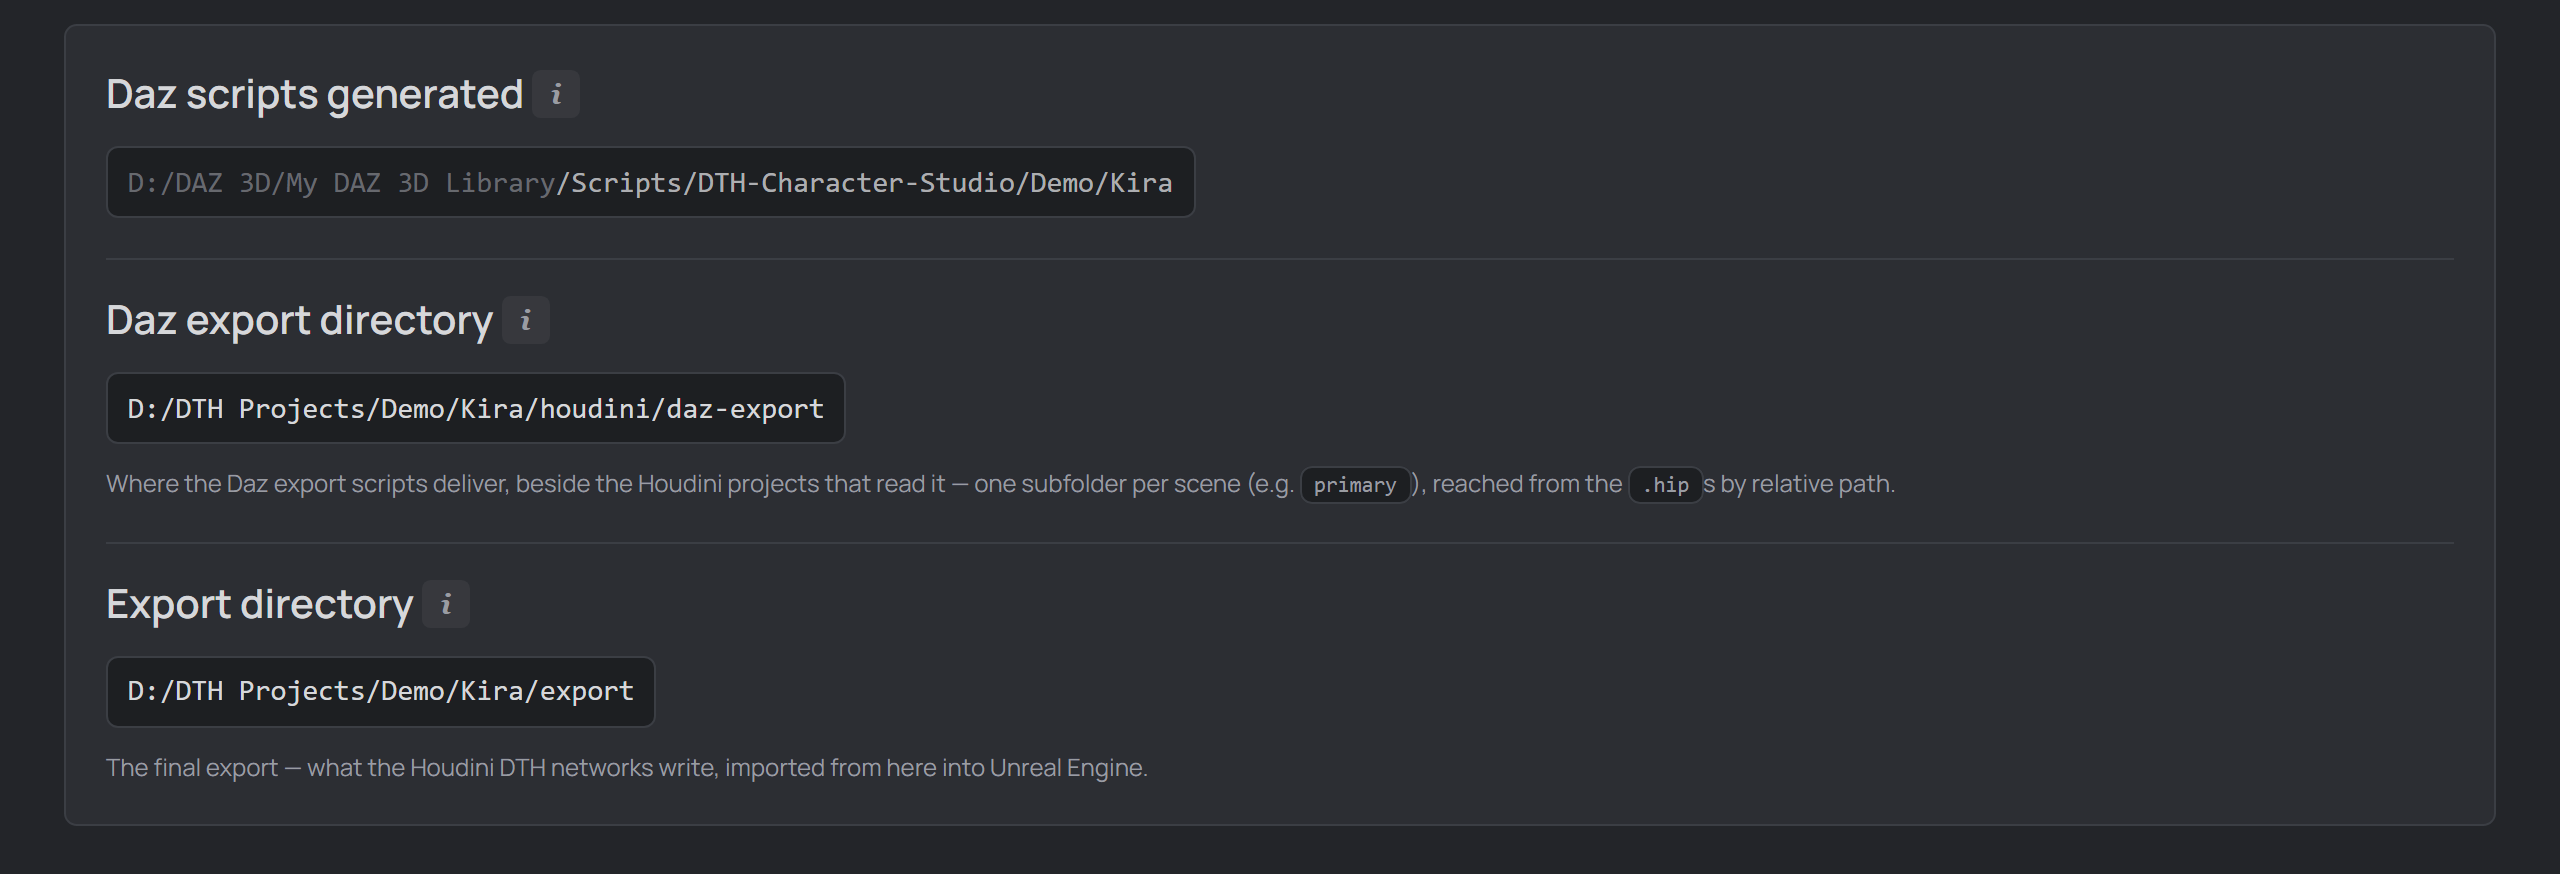
The Daz export directory in the Daz scripts generated box.
There is nothing to set up: every character has a Daz export directory, fixed at
daz-export inside its Houdini folder. Each scene's run writes <Name>.abc,
<Name>.dth and the PoseAsset CSV — plus a reference-skeleton FBX for
each Bone scale frame, under a Reference Skeletons subfolder the CSV already
points at.
- Each run moves that scene's previous export set aside first (a
.dthprevsuffix), so files from an earlier layout never linger beside a fresh one — and if the export then fails, that set is put back, so a failed run never costs you the last good one. Anything else you keep in the folder is left alone. - A clean ROM build also saves the ROM'd scene as
<scene>_ROM.dufinto arom-animations/subfolder next to the scene file. Open it any time to get the built ROM animation back without the slow rebuild. - Every scene exports into its own subfolder, named after the subfolder the
scene lives in, and the files carry the scene in their name —
Kira_Summertide.abc. The primary is the exception: its files keep the plain name (Kira.abc).
Where the Houdini project fits#
The exports deliberately live outside the Houdini project — .abc/.dth
files are large and fully regenerable, and a Houdini project folder is something
you back up or version. So they sit one .. away from your .hip:
<character>/                ← $JOB (Set Project) — it holds BOTH sides
  daz3d/
    Kira.duf              ← your scenes, and nothing generated
  houdini/                ← $HIP — every scene of this character lives here
    Kira.hiplc            ← imports read daz-export/…
    Kira_Look.hiplc
    daz-export/           ← what the DTH Exporter wrote, for these imports
      primary/  Kira.abc  Kira.dth  Kira_pose_asset.csv
      summertide/
    render/ geo/ backup/  ← Houdini's own output, shared by both scenes
  export/                 ← the FINAL files, for Unreal
$JOBis the character folder. Houdini only collapses a picked path into a variable when it sits under$HIPor$JOB, so$JOBhas to be the folder abovehoudini/— otherwise picking an export writes an absolute path and the project stops being movable.houdini/is the shared project folder. Every scene of a character lives in it and shares one$HIP, so Houdini's own output collects there instead of scattering per scene.export/is the end of the pipeline — what Houdini generates for Unreal. Not to be confused with thedaz-exportintermediate.
All three are created with every new character and can be renamed per project in
Settings → Project. Ticking Houdini's Make path relative to current
directory in the file picker gives you the portable $HIP/daz-export/… form —
the same spelling the studio generates.
Note
Upgrading from an older version? Every layout change carries itself out on
the next save, and Tools → Refresh assets does every character in one go:
exports follow to the current location, the empty houdini-project subfolder and
leftover dth-exports junctions are removed, and the hidden .ROM_Animations
folder becomes the visible rom-animations. A Houdini project generated before a
move still names the old location — Utils → Make paths portable rebuilds
those imports.
Reference-skeleton paths — $HIP by default#
Every Bone scale frame gets a reference-skeleton FBX, and the PoseAsset CSV
points Houdini at it relative to $HIP, the folder the .hip sits in —
$HIP/daz-export/primary/Kira_frame_432.fbx — so the project keeps resolving after
you move, rename or copy the character tree. Settings → Project → Houdini path
style controls this: hip (the default) writes relative paths, absolute forces
absolute ones.
Two layouts fall back to $JOB, the character folder: linked projects sitting
in different folders, and exports sitting beside the houdini folder rather
than under it. Both still resolve. It falls back to absolute paths when there
is no linked project yet, when a .hip is hand-linked in your own tree, or when
the export root is outside the character folder.
Working with the scripts alone#
Everything the batch runs is an ordinary Daz script, installed on Save — you can run it yourself, handy for a single scene or when you want to watch every step.
The script builds the ROM on the timeline — the build alone: the export is its
own script (below), and the reopenable Note The scripts check the open scene first. Running a character's ROM, export or scan script while some other scene is open does nothing — an error dialog names the open scene and the character's linked scenes instead. The same check picks the per-scene work: the one Each generated script does one job, so you run only the part you need (and a re-export never costs you another ROM build). With a Daz export directory set you get, in the order you run them:
Each gets its own Content Library icon, so they're easy to tell apart in Daz. Tip The DTH Export button does all three in one unattended batch — it runs its own hidden script rather than these. Use these when you want to drive Daz by hand, or to redo one step. Note Prefer exporting entirely by hand? Just run |
Two bundled scripts handle scenes the pipeline can't take as they are — a geograft hidden under a Golden Palace shell, and an old scene that is nothing but a baked ROM animation: Bundled fix-it scripts.